
Understanding Acoustic Curtain Rips: Causes and Challenges
Acoustic curtains are dense, multilayered fabrics designed to dampen sound, making them heavier and more complex than standard curtains. Rips can occur from accidental pulls, furniture snags, or wear near hems. Before repairing, assess the damage: small tears (under 1 inch), medium rips (1–4 inches), or large areas of fabric separation. The repair method depends on the rip size, location, and fabric type (e.g., polyester, velvet, or layered with mass-loaded vinyl). Always work on a clean, flat surface to avoid further distortion.
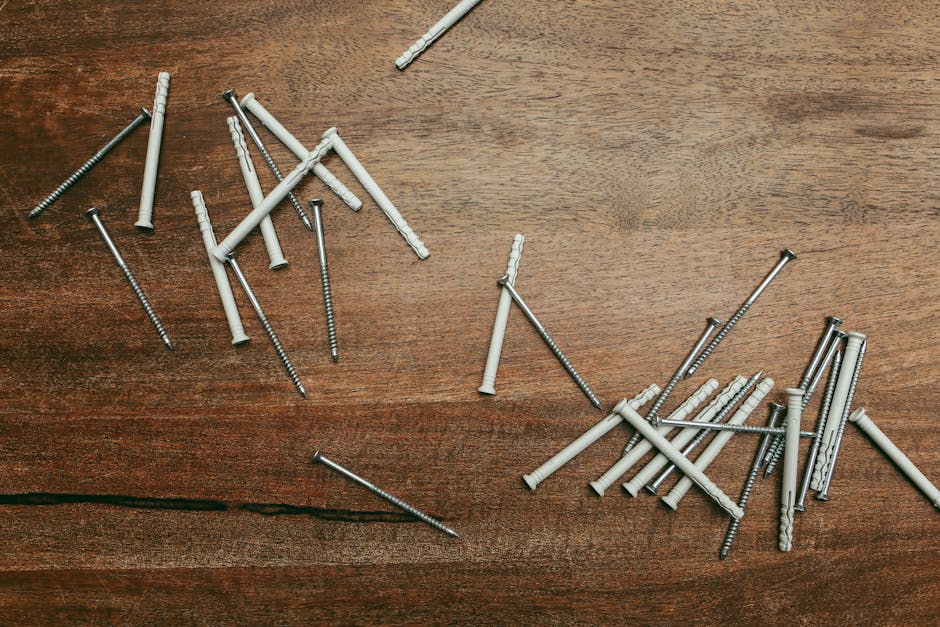
Tools and Materials for Acoustic Curtain Repair
Gather the following items based on the rip size and fabric weight. For best results, use materials that mimic the curtain's acoustic properties.
| Tool/Material | Purpose | For Rip Size |
|---|---|---|
| Heavy-duty thread (polyester or nylon) | Strong stitching to withstand weight | Small to medium |
| Sharp needles (size 16–18 or upholstery needle) | Penetrate thick layers without damage | All sizes |
| Fabric adhesive (for acoustic fabrics) | No-sew bonding for light repairs | Small tears |
| Matching fabric patch or fusible interfacing | Reinforce large rips | Medium to large |
| Iron and press cloth (if using fusible patch) | Heat-bond patch | Medium to large |
| Scissors, seam ripper, fabric chalk | Cutting and marking | All sizes |
| Optional: Acoustic curtain repair tape | Quick fix for minor tears | Small |

Step-by-Step Repair Guide
Repairing Small Tears (Under 1 inch)
Method 1: Hand Stitching (Preferred for Durability)
1. Thread a needle with double-length heavy-duty thread and knot the end.
2. Align the torn edges so they meet exactly. Use small, invisible stitches (ladder stitch) along the tear, catching only a few fabric threads from each side.
3. Pull gently to close the gap, then knot securely. Reinforce with a small backstitch at each end.
Method 2: Fabric Adhesive (Quick Fix)
1. Apply a thin line of adhesive specifically for acoustic fabrics (e.g., Beacon Fabri-Tac) inside the tear.
2. Press edges together and let dry for 24 hours under a flat weight. Avoid using standard glue, which can stiffen the acoustic layers.
Repairing Medium Rips (1–4 inches)
Using a Fusible Patch (Best for Straight Tears)
1. Cut a fusible interfacing or matching fabric patch 1–2 inches larger than the rip on all sides.
2. Slide the patch under the tear (fabric face up) so it covers the damaged area.
3. Pin from the outside to hold in place. Iron over a damp press cloth on a synthetic setting (test a hidden area first). Press for 10–15 seconds without sliding.
4. Let cool, then hand-stitch the tear edges to the patch for extra strength.
Machine Stitching (if accessible)
1. Use a heavy-duty sewing machine with a denim needle. Set stitch length to 3–4 mm.
2. Place a tear-away stabilizer underneath. Sew a tight zigzag or straight stitch across the rip, then trim stabilizer.
Repairing Large Rips or Holes (Over 4 inches)
Patch with Matching Fabric
1. Source a scrap of the same or very similar acoustic curtain fabric. If unavailable, use a heavy blackout lining fabric that matches weight.
2. Cut a square patch extending 2–3 inches beyond the rip. Iron a fusible webbing onto the back of the patch.
3. Insert the patch behind the rip, aligning pattern if any. Pin or baste into place.
4. Iron to fuse the webbing, then machine-stitch around the perimeter of the patch (¼ inch from edge). Finish by hand-stitching the rip edges down.
For Velvet or Textured Acoustic Curtains
Use a patch from an unseen area (e.g., bottom hem). Carefully trim the rip edges into a clean shape, then apply a backing patch with fabric glue. Brush the velvet nap gently with a soft brush after gluing to disguise the repair.
Preventing Future Rips
To minimize stress on acoustic curtains:
• Use reinforced grommets or hooks with load-bearing rings.
• Avoid over-pulling when opening/closing – slide gently.
• Keep furniture at least 2 inches away from the fabric.
• Regularly inspect seams and hems for early signs of fraying.
• Apply a fabric sealant spray (like Scotchgard for upholstery) to increase tear resistance.
When to Replace Instead of Repair
Consider replacement if:
• The rip is in a prominent area where a patch cannot be hidden.
• Multiple rips or widespread fabric degradation (e.g., sun rot).
• The acoustic performance is compromised (sound absorption depends on intact mass layers).
• Professional repair costs exceed 50% of curtain price. In such cases, consult the manufacturer for custom repairs or invest in new acoustic curtains.
Final Tips for Long-Lasting Repairs
Always test any adhesive or heat on a concealed corner first. For acoustic curtains with attached blackout backing, repair the face fabric separately – avoid fusing through the backing. After repair, rehang and check for pleating distortion. A well-executed rip repair can restore both aesthetics and acoustic function. When in doubt, contact a professional upholstery cleaner who specializes in heavy fabrics.