Understanding Light Bleed in Blackout Curtains
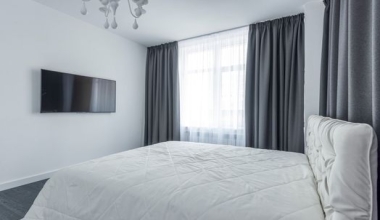
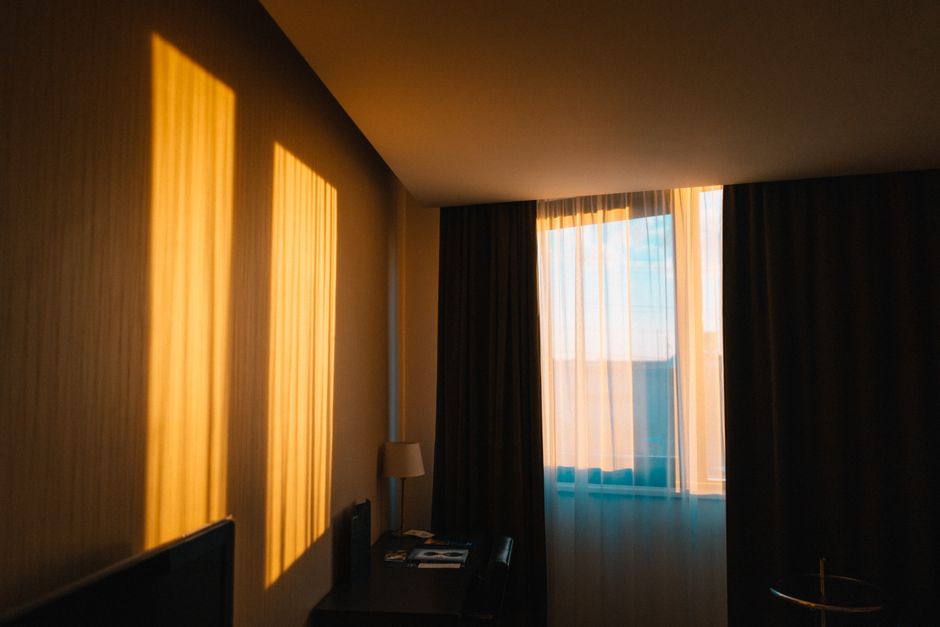
Blackout curtains are designed to block up to 99% of external light, but even the best fabrics can fail if light seeps through the edges. Light bleed occurs when gaps between the curtain and the wall, window frame, or floor allow sunlight or artificial light to penetrate the room. This can ruin the ambiance for sleep, home theater, or photography. In this guide, we’ll explore effective methods to seal edges and achieve true darkness.
___PROTECTED_1___
Why Edge Sealing Matters
Edge sealing is critical for maximizing blackout performance. Common culprits include:
- Curtain not wide enough: Standard curtains may leave gaps at the sides.
- Hemming issues: Bottom hem can lift, letting light under.
- Rod gaps: Light passes through the top where hooks or rings meet the rod.
- Overlap gaps: Where two curtain panels meet in the center.
Addressing these areas can transform a mediocre blackout setup into a pitch-black environment.
___PROTECTED_2___
Tools and Materials Needed
Before starting, gather these items:
- Fabric scissors or rotary cutter
- Measuring tape
- Iron-on hem tape or sewing kit
- Velcro strips (adhesive or sew-on)
- Magnetic tape or snaps
- Blackout curtain liner fabric (optional)
- Drapery weights
- Spray adhesive (temporary)
Method 1: Extend Curtain Width with Side Seals
Measure and Cut
Measure the distance from the curtain edge to the wall or window frame. Add 2 inches for overlap. Cut strips of blackout fabric or leftover curtain material to match the height of your curtain.
Attach with Velcro or Sewing
Sew or iron-on hem tape the strips to the side edges of the curtain. Alternatively, use adhesive Velcro: attach the hook side to the wall or window frame, and the loop side to the curtain edge. Press firmly to seal.
Method 2: Bottom Hem Weighting and Sealing
Light often escapes under the curtain hem. Weights help keep the fabric flat against the floor. Insert drapery weights into the hem pockets or sew them along the bottom edge. For a complete seal, attach magnetic tape: one side on the curtain hem, the other on a metal strip adhered to the floor. This creates a magnetic closure that blocks light entirely.
Method 3: Top Track and Rod Gaps
Light leaks at the top can be resolved by installing a curtain track system rather than a rod. If using a rod, add a valance or a separate piece of fabric above the curtain to cover the gap. Alternatively, use a ‘wrap-around’ bracket that extends the curtain past the rod ends. For hook-and-ring setups, sew a small fabric flap over the top edge that drapes over the rod.
Method 4: Center Overlap with Magnets or Snaps
Where two panels meet, light can pass through. Sew magnets or snaps along the inner edges. Space them every 6-8 inches. When closed, they pull the panels together tightly. For a quick fix, use fabric-safe double-sided tape, but magnets are more durable.
Method 5: Install a Custom Blackout Liner
If your existing curtains aren't truly blackout, add a liner. Purchase blackout liner fabric from a fabric store. Cut it to size, with extra width and length to wrap around the curtain edges. Attach using iron-on hem tape or sew along the sides and bottom. For a removable solution, use snap buttons on the top edge to attach the liner to the curtain header.
Comparing Sealing Techniques
| Method | Difficulty | Cost | Effectiveness |
|---|---|---|---|
| Side strips (Velcro) | Easy | Low | Good |
| Bottom weights + magnets | Moderate | Medium | Excellent |
| Top track system | Hard | High | Excellent |
| Center magnets/snaps | Easy | Low | Very Good |
| Blackout liner | Moderate | Medium | Excellent |
Professional Tips for Zero Light Leaks
- Use a curtain track that goes wall-to-wall to eliminate side gaps.
- Install a pelmet or cornice above the curtain to hide the rod and block top light.
- For bay windows, consider custom-made curtains with mitered corners.
- Always measure twice—curtains should be 1.5 to 3 times the window width for proper overlap.
- Combine multiple methods: side seals + bottom magnets + center magnets for best results.
Conclusion
Light bleed doesn’t have to compromise your blackout experience. By identifying the gaps and applying the right sealing technique—whether it’s adding side strips, weighting the hem, or installing magnets—you can achieve a near-perfect dark environment. Start with the simplest fix (side Velcro) and progress to advanced methods as needed. Your sleep, movie nights, and energy bills will thank you.