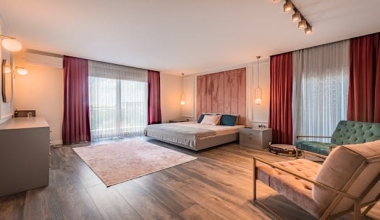
Why Layer Sheer and Blackout Curtains?
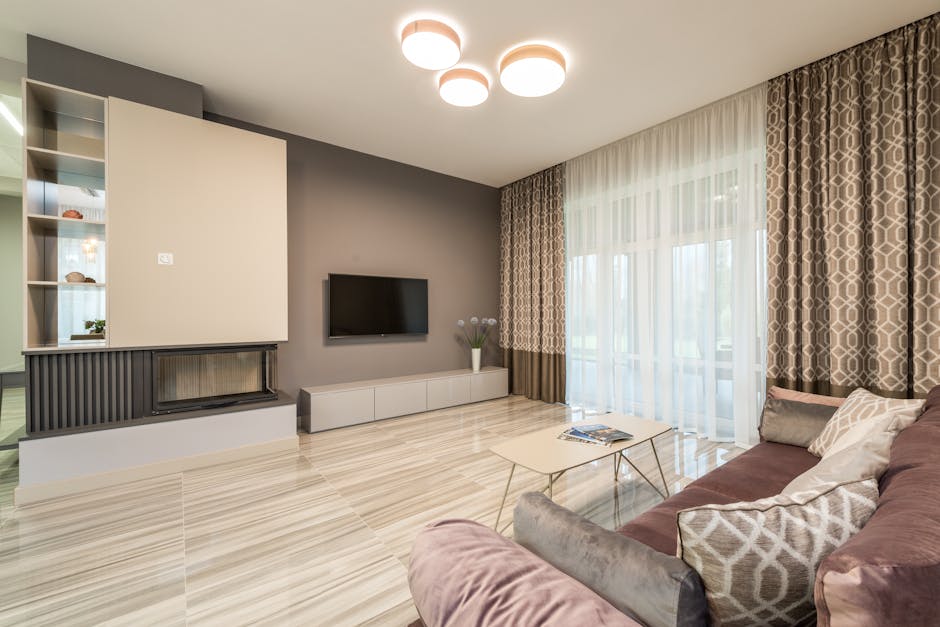
Layering sheer curtains with blackout panels is a game-changer for any room. It combines the best of both worlds: the soft, airy elegance of sheers and the total light control and privacy of blackout liners. This technique isn’t just about aesthetics—it’s a practical solution for managing sunlight, energy efficiency, and mood. Whether you’re aiming for a cozy bedroom, a bright yet private living room, or a home theater setup, layering gives you flexibility. You can draw the sheers alone for diffused light or close both for complete darkness. Plus, the visual depth adds a designer touch without a full renovation.
Choosing the Right Fabrics
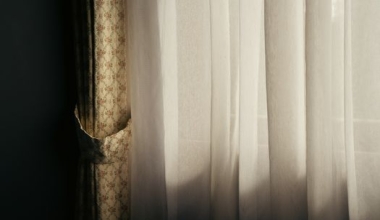
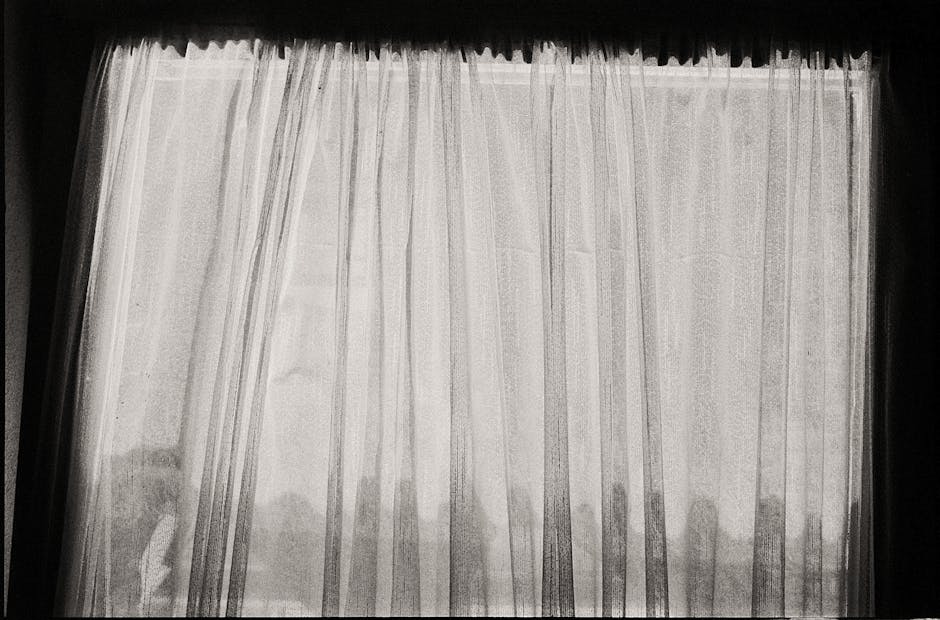
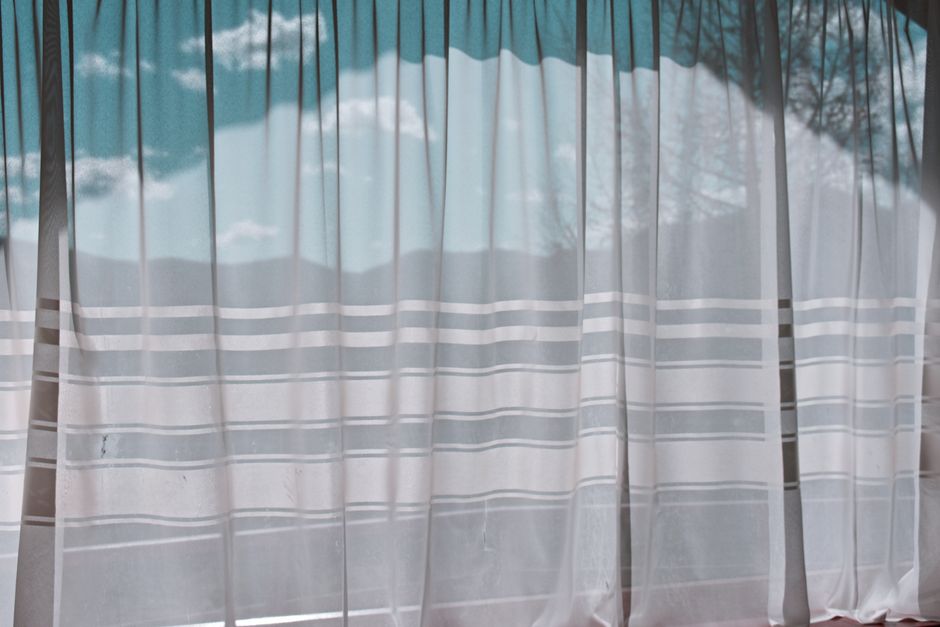
Sheer Fabrics: Light and Airy
Sheer curtains come in various materials. Linen blends offer a natural, textured look but may wrinkle. Polyester sheers are durable, wrinkle-resistant, and affordable. For a touch of luxury, consider silk or faux silk sheers. The key is to pick a fabric that filters light softly without being completely transparent. White or light neutrals work best for a classic, airy feel.
Blackout Fabrics: Total Darkness
Blackout curtains typically have a dense weave or a foam-backing. Velvet blackout curtains are opulent and excellent at blocking light and sound. Thermal-backed blackout curtains add insulation, saving energy. For a minimalist look, choose smooth cotton or polyester blends with a white lining. Ensure the blackout fabric has a high opacity rating (usually 99% or more).
Hardware and Mounting Options
Double Rod System
The most common method is using a double curtain rod. The front rod holds the sheers, and the back rod holds the blackout panels. This allows independent operation. Look for rods with separate brackets or a telescoping design. Choose a sturdy rod that can support the combined weight.
Single Rod with Ring Clips
If space or budget is limited, you can hang both layers on a single rod using ring clips. Sheers go on the front rings, blackout on the back. The downside is they can bunch together and limit independent movement. Best for decorative rather than functional layering.
Inside vs. Outside Mount
For a clean look, mount the rod as high and wide as possible. An inside mount (within the window frame) gives a tailored appearance but may reduce light blockage. An outside mount extends beyond the frame, covering more wall and eliminating light gaps. For maximum blackout, use an outside mount with the rod installed 6–12 inches above the window and extending 4–6 inches on each side.
Step-by-Step Layering Setup
- Measure your window – Width and height for both sheers and blackout curtains. Add extra width for fullness (typically 1.5–2x the window width).
- Install the double rod – Follow manufacturer instructions. Ensure the rod is level and securely anchored into studs or toggle bolts.
- Hang the blackout curtain first – Use the back rod. If using ring clips, attach the blackout panels to the back row.
- Hang the sheer curtains – On the front rod. Adjust so they drape evenly and don’t overlap the blackout layers.
- Adjust stacking – When open, both panels should stack neatly at the sides. Use tiebacks if needed for a sculpted look.
Practical Tips for Perfect Layering
- Length matters: Both layers should either kiss the floor or have a slight puddle for a luxurious feel. Sheers can be shorter for a casual look, but blackout curtains must reach the floor to prevent light leakage.
- Color coordination: Match the sheer color to the blackout background for a cohesive look. White sheers with white-backed blackouts create a seamless blend. Contrasting colors (e.g., sheer white with navy blackout) add drama.
- Light gap solutions: Use velcro strips or magnetic tape along the edges to seal gaps. Consider blackout liners attached to the back of decorative curtains for an integrated solution.
- Hardware finish: Match rod finishes (brushed nickel, matte black, bronze) to your decor. For a minimalist vibe, hide the rods behind a valance or cornice.
Customizing for Different Rooms
| Room | Sheer Weight | Blackout Type | Effect |
|---|---|---|---|
| Living Room | Light linen | Thermal cotton | Soft light with energy savings |
| Bedroom | Polyester voile | Velvet or foam-backed | Total darkness for sleep |
| Home Theater | Dark sheer (optional) | Triple-weave blackout | Zero light for immersive viewing |
| Home Office | White gauze | Semi-blackout | Glare reduction without full darkness |
Maintenance and Care
Sheer curtains: Dust regularly with a vacuum brush. Machine wash on delicate cycle in cold water and hang dry. Avoid bleach. Iron on low if needed. Blackout curtains: Spot clean with mild detergent. Some are machine washable—check labels. Velvet blackouts need dry cleaning to maintain texture. Always separate layers during washing to prevent pilling.
Common Mistakes to Avoid
- Using mismatched widths: Both layers should be equally full or the sheers slightly wider for a soft look.
- Ignoring light bleed: Even blackout curtains leak around edges. Use brackets that hold the curtain tight to the wall.
- Choosing heavy fabrics for sheers: Sheers are meant to be lightweight; heavy sheers defeat the purpose of diffusion.
- Poor stacking: Plan enough wall space for the panels to stack when open. Overcrowding creates a bulky appearance.
Final Thought
Layering sheer curtains with blackout is an elegant, functional upgrade. By selecting the right fabrics, hardware, and installation method, you can transform any window. Experiment with colors and textures to match your personal style. Start with a double rod set—it’s the most versatile. Happy decorating!