Getting the perfect blackout effect starts with accurate measurements. Whether you're blocking out morning light for better sleep or creating a home theater environment, improperly measured curtains can leave gaps that ruin the darkness. This guide walks you through every step, from gathering tools to accounting for fabric stack, ensuring your blackout curtains fit flawlessly.
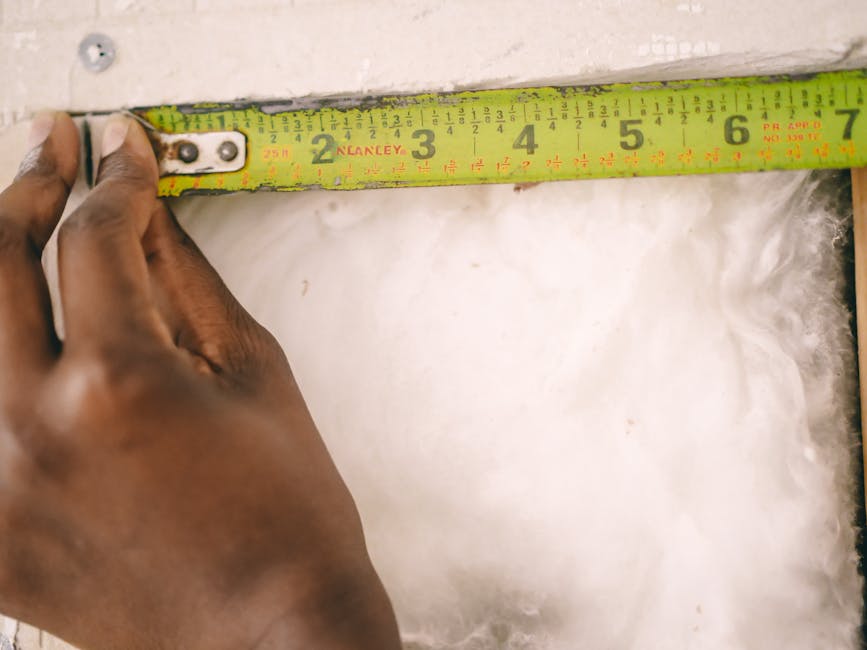
Why Accurate Measurements Matter
Blackout curtains rely on complete coverage to block light. Even a half-inch gap can let in a distracting beam. Precision measurements prevent wasted money on curtains that are too short or narrow. Moreover, well-measured curtains enhance thermal insulation, privacy, and aesthetic appeal. When you measure correctly, you can choose the right curtain type, rod placement, and mounting style for maximum effectiveness.
___PROTECTED_1___
Tools You'll Need
- Steel measuring tape (fabric tapes can stretch)
- Pencil and notepad (or phone notes)
- Step stool or ladder (for high windows)
- Level (to ensure rod is straight)
- Masking tape (to mark positions on wall)
Pro tip: Always measure in inches or centimeters, and use the same unit throughout. Round to the nearest 1/8 inch (or 0.3 cm) for precision.
___PROTECTED_2___
Standard Curtain Measurements: Width and Length
Before diving into specific steps, understand the two dimensions: width (the total coverage area) and length (the drop from curtain rod to hem). Blackout curtains typically come in standard sizes, but custom options are better for odd-sized windows. For width, you need the full span of the curtain when gathered; for length, you decide if the curtain touches the floor, sill, or below the apron.
How to Measure Width for Blackout Curtains
Width depends on your mounting choice: inside mount (within the window frame) or outside mount (covering the frame and wall).
Inside Mount (Recessed Windows)
For curtains that sit inside the window opening, measure the exact width of the window at three points: top, middle, and bottom. Use the narrowest measurement to ensure the curtain fits without bunching. Then subtract 1/4 inch (0.6 cm) from each side for clearance. This prevents friction when opening and closing. Example: 36" narrowest width → order curtains at 35.5" width.
Outside Mount (Overlapping the Frame)
For maximum light blocking, an outside mount is best. Measure the width of the window frame (including trim), then add 6 to 12 inches on each side. This allows the curtain to sit outside the frame and block light from edges. The extra width also creates a luxurious gathered look. Example: 36" frame width + 12" (6 each side) = 48" total width needed.
Tip: If you have a curtain rod, measure from finial to finial (the outermost hardware) and add 2-3 inches for full stack when closed.
How to Measure Length for Blackout Curtains
Length determines where the hem rests. Three common options exist.
Floor Length
Measure from the top of the rod (or from the mounting point if using rings) to the floor. For a slight puddle effect, add 1-2 inches. For a clean break (just kissing the floor), subtract 1/2 inch. For a floating look, subtract 1-2 inches. Measure at multiple points because floors can be uneven – use the highest point as your reference to ensure the curtain doesn't drag.
Sill Length
For above sinks or radiators, measure from rod to the top of the window sill. Then subtract 1/2 inch so the curtain hangs above the sill without touching it. This prevents dust collection and allows air flow.
Apron Length
Also called below-sill length. Measure from rod to 4-6 inches below the bottom of the sill. This is a common choice for curtains that end just below the window. Ensure that the hem doesn't block baseboards or vents.
Measuring for Different Curtain Heading Styles
| Heading Style | Effect on Width | Effect on Length |
|---|---|---|
| Rod pocket | Fabric bunches along rod; requires 1.5-2x fullness (rod width × 1.5-2) | Measure from top of rod pocket (not rod) to desired hem |
| Grommet | Grommets sit above rod; add 1-2 inches to width for easy slide | Measure from top of grommet (not rod) to hem |
| Pleated (pinch, pencil, etc.) | Pleats reduce visible width; order exact finished width (no extra fullness needed) | Measure from rings/hooks to hem |
| Tab top | Similar to rod pocket; allow 1.5x fullness | Measure from top of tab to hem (tabs are usually 1-2 inches) |
| Back tab | Creates neat folds; order 1.5x rod width | Measure from top of back tab to hem |
Accounting for Curtain Stack and Overlap
When curtains are closed, they stack back (the fabric pile) on either side. For blackout, you need the curtains to meet in the center without gaps. If you have a single panel covering a wide window, it must be wide enough to cover the entire opening when pulled to one side. For two panels (most common), each panel should be at least half the rod width plus a few inches for overlap in the center. Overlap of 2-4 inches ensures light does not seep through the middle gap.
Pro tip: When ordering made-to-measure curtains, tell the manufacturer the total width of the window or rod they need to cover, and they'll add the necessary fullness and overlap.
Tips for Perfect Blackout Coverage
- Use blackout liners: If your fabric isn't fully opaque, add a separate blackout liner. Measure the liner independently to match the curtain's dimensions.
- Install a valance or pelmet: A valance covers the top gap where light can sneak over the rod. Measure the valance width to match the curtain width, and length to cover 4-6 inches above the rod.
- Seal the sides: For extreme darkness, use magnetic strips or hook-and-loop tape along the edges of the curtain and the wall to block side light.
- Check for floor-level drafts: If the curtain doesn't touch the floor, air and light can enter. A floor-length curtain with a slight puddle works best.
Common Mistakes to Avoid
- Measuring while curtains are still hanging: Always measure the window itself, not an existing curtain that may be incorrectly sized.
- Ignoring hardware: Curtain rings and finials add width and change length drop. Account for them in your calculations.
- Forgetting about seam allowances: If sewing your own, add 2-3 inches to width and length for hems.
- Using the same length for all windows: Different rooms have different floor heights; measure each window individually.
- Choosing too narrow width: A general rule: combined panel width should be 2-3 times the window width for proper fullness and light blocking.
Final Checklist
- ☐ Decide inside or outside mount
- ☐ Measure width at narrowest point (inside) or add overhang (outside)
- ☐ Measure length from rod/ring to desired hem point
- ☐ Account for heading style and fullness
- ☐ Include overlap for center closure
- ☐ Add margin for error (±1/2 inch)
- ☐ Double-check all measurements
Now you're ready to order or sew your blackout curtains with confidence. Accurate measurements transform any room into a dark, cozy sanctuary. Follow these steps, and you'll enjoy the full benefits of blackout fabric – from energy savings to undisturbed sleep.