1. Measure Your Window Accurately
Begin by measuring the width and height of your window frame. For maximum light blocking, you need curtains that extend beyond the window opening. Use a steel tape measure and note the width at three points (top, middle, bottom) and height on both sides. Always round up to the nearest inch to ensure full coverage.
If you plan to mount the curtain rod inside the window frame (inside mount), the curtains should fit snugly within the frame. For outside mount, add 4-6 inches on each side and 2-4 inches above the frame to prevent light leaks. Record these dimensions for your fabric purchase.
Consider the curtain length: floor-length curtains look elegant and block more light than sill-length. Measure from the rod position to the floor, subtracting ½ inch to avoid dragging. For a puddle effect, add 1-2 inches.
2. Choose the Right Mounting Method
Decide between inside mount (curtains inside the window frame) and outside mount (curtains covering the frame and wall). Inside mount offers a clean look but may allow light leakage at the edges. Outside mount is superior for light blocking because it covers the entire window opening and any gaps.
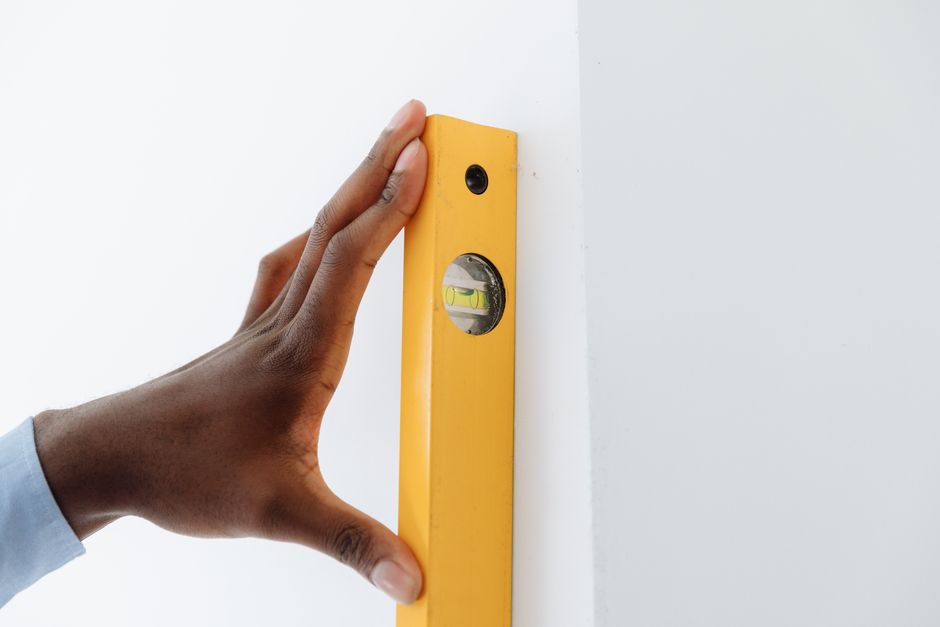
For outside mount, the rod should extend at least 3 inches past the window on each side and be placed 4-6 inches above the top of the frame. Use a level to ensure the rod is straight. If your window has molding, ensure the brackets are anchored into studs or use heavy-duty anchors for drywall.
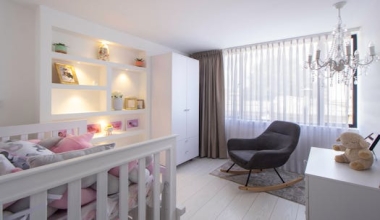
In rooms where total darkness is critical (e.g., bedrooms, media rooms), outside mount with a rod that extends widely is recommended. Pair this with blackout curtains that have a full lining or are made of triple-weave fabric.
3. Select the Best Blackout Curtain Fabric
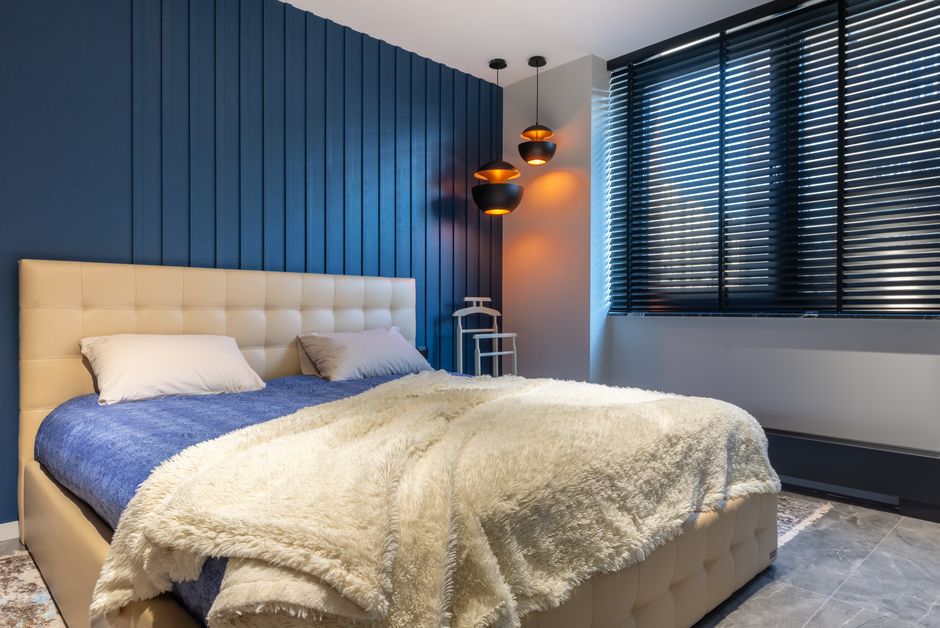
Not all blackout curtains are equal. Look for fabrics labeled "100% blackout" or "room darkening." The best options are triple-weave, polyester-based curtains with a thick foam backing or a thermal lining. These block both light and heat, improving energy efficiency.
For maximum light blocking, consider curtains with an interlining (a middle layer of blackout fabric). Velvet or heavy suede textures also provide excellent light absorption. Avoid thin sheers or lightweight cottons unless layered with a blackout liner.
Check the fabric's opacity by holding it up to a bright light before purchasing. If you see pinpricks of light, it won't block enough. Additionally, opt for darker colors—they absorb more light than light-colored fabrics.
4. Install a High-Quality Curtain Rod
The rod is the backbone of your installation. Use a sturdy metal rod at least 1 inch in diameter to support heavy blackout curtains. A flimsy rod will sag over time, creating gaps. For outside mount, choose a rod that extends 6-12 inches beyond the window on each side.
Install the rod brackets securely. For maximum stability, screw them into wall studs if possible. Use a stud finder to locate studs; if not available, use toggle bolts or heavy-duty wall anchors rated for at least 20 pounds per bracket. Space brackets no more than 3 feet apart to prevent bowing.
Consider a double rod if you want to layer blackout curtains with sheers. Install the front rod for the blackout curtain and a second rod behind for the sheer. This allows flexibility while maintaining light blocking.
5. Use Layering Techniques for Extra Blocking
Layering multiple window treatments is the most effective way to eliminate light. Start with a cellular shade or roller blind mounted inside the window frame, then add blackout curtains over them. The shade blocks light at the window, while the curtains prevent leakage from the sides and top.
For a simpler approach, use two pairs of blackout curtains on the same rod—one for each side of the window, overlapped in the center by 4-6 inches. This creates a dense barrier. Alternatively, install a valance or cornice box at the top to hide the rod and block light from above.
Another technique is to attach blackout liners to the back of existing curtains using magnetic clips or hook-and-loop tape. This enhances light blocking without replacing the entire drape. For best results, ensure the liner extends slightly beyond the curtain edges.
6. Seal Light Gaps with Velcro or Magnetic Strips
Even with careful installation, light can sneak through small gaps around the edges. Use adhesive-backed hook-and-loop tape (Velcro) to attach the sides and bottom of your curtains to the wall or window frame. Apply the fuzzy side to the curtain and the hook side to the wall, ensuring a tight seal.
For magnetic strips, sew or glue magnetic tape along the bottom hem of the curtain and attach matching magnets to the windowsill. This creates a strong seal that is easy to detach when needed. Make sure the magnets are strong enough to hold the fabric weight.
Don't forget the gap at the top. Install a cornice box or a padded header that covers the rod and presses against the ceiling. Alternatively, use a fabric flap that drops from the top of the curtain to block the light path.
7. Maintain Your Blackout Curtains for Longevity
To ensure your curtains continue to block light effectively, clean them regularly. Dust and dirt reduce the fabric's opacity. Most blackout curtains can be vacuumed with a brush attachment or spot-cleaned with mild soap. Avoid machine washing unless the label specifies it—agitation can damage the backing.
Check the seal edges and Velcro periodically, as they may lose adhesion over time. Replace adhesive strips or re-stitch magnetic tape as needed. If your curtains start to sag, adjust the rod brackets or replace the rod if necessary.
Store extra curtains flat or rolled in a cool, dry place to prevent creases. With proper care, quality blackout curtains can last 5-10 years, giving you pitch-black rooms for better sleep and energy savings.