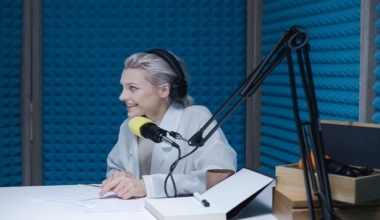
Podcasting has exploded in popularity, but poor audio quality can ruin even the most compelling content. One of the most effective and affordable solutions for achieving professional sound is installing acoustic curtains in your podcast room. Unlike standard drapes, acoustic curtains are engineered to absorb sound, reduce echo, and minimize background noise, creating a clean audio environment. This guide will walk you through everything you need to know about selecting, installing, and optimizing acoustic curtains for your podcast setup.
Why Acoustic Treatment Matters for Podcasting
Podcast listeners expect clear, crisp audio. Even a slight echo or reverb can make your episodes sound amateurish. Acoustic treatment addresses common issues like:
- Flutter echo – rapid reflections off parallel walls
- Standing waves – frequency buildup causing boomy or hollow sound
- External noise – traffic, air conditioning, or household sounds
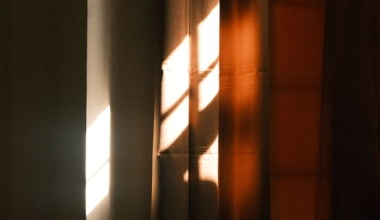
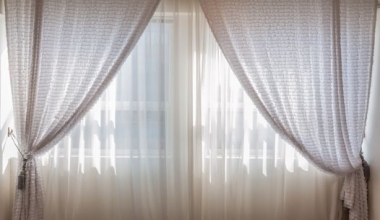
Acoustic curtains provide absorption across a broad frequency range, dampening mid-to-high frequencies while some designs also target low-end rumble. They are especially effective when used as a room divider or draped over windows and doors.
___PROTECTED_1___
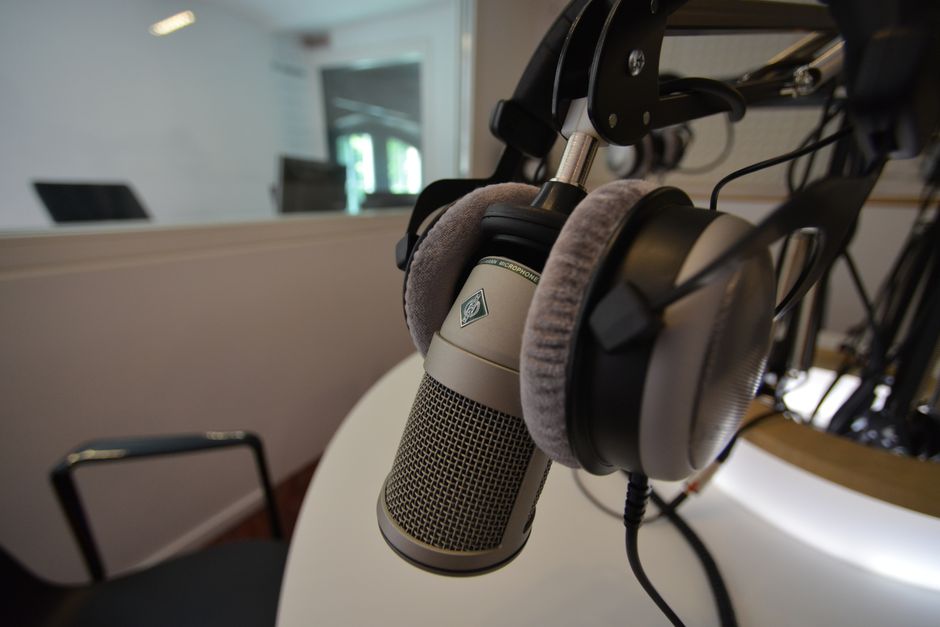
How Acoustic Curtains Work
Acoustic curtains are made from dense, porous materials like felt, velvet, or multi-layer composites. Sound waves entering the fabric are converted into small amounts of heat through friction within the fibers, reducing the energy that reflects back into the room. Key factors include:
- Surface Density – heavier fabrics (300–600 GSM) absorb more sound.
- NRC Rating – Noise Reduction Coefficient (0 to 1) indicates absorption. Aim for NRC 0.6 or higher for podcast rooms.
- Pleating / Folds – deeper pleats increase surface area and absorption.
- Air Gap – leaving a 4-6 inch gap behind the curtain improves low-frequency absorption.
___PROTECTED_2___
Choosing the Right Acoustic Curtain Fabric
Not all curtains are created equal. Here’s a breakdown of popular materials:
| Fabric | Benefits | Best For |
|---|---|---|
| Velvet | Heavy, luxurious, good absorption for mid-high frequencies | Recording rooms with a classic look |
| Felt / Polyester | Durable, affordable, high NRC ratings | Budget-friendly setups |
| Blackout back coating | Adds mass, blocks light and sound | Multi-purpose rooms (also use as blackout curtain) |
| Multi-layer composite | Layers of foam + fabric for wideband absorption | Professional studios |
Key Specifications to Check
- Weight: Minimum 300 GSM; 500+ GSM for serious absorption.
- NRC Rating: Look for certified ratings from labs (ASTM C423).
- Fire Resistance: Ensure compliance with local building codes (Class A rating).
Installation Tips for Maximum Sound Absorption
Proper installation is critical. Follow these steps:
- Use a sturdy rod or track: Heavy curtains need reinforced brackets. Use a ceiling-mounted track for floor-to-ceiling coverage.
- Create an air gap: Mount the curtain at least 4 inches away from the wall. This allows sound to hit the back of the fabric and dissipate.
- Overlap and floor-length: Curtains should extend at least 6 inches beyond the window/door frame and touch the floor to prevent sound leakage.
- Add weights or magnets: For a tight seal, sew in bottom weights or attach magnetic strips to the bottom edge, especially on doors.
- Layering: Combine acoustic curtains with absorption panels on walls for complete coverage.
Placement Strategies for Podcast Rooms
Where you place your curtains matters just as much as the fabric:
- Cover hard surfaces: Windows, glass doors, and bare walls are major reflectors. Drape curtains over these areas first.
- Create a vocal booth: Use freestanding curtain tracks to carve out a small recording area around your microphone.
- Isolate the room: Place curtains over the door and any vents to block sound from entering or leaving.
- Behind the microphone: Hang a curtain behind the speaker’s position to prevent reflections from the wall behind.
- Corner bass traps: Use thick curtains in room corners to absorb low-frequency buildup.
DIY vs. Professional Acoustic Curtains
You have two main routes:
| Aspect | DIY Curtains | Professional Acoustic Curtains |
|---|---|---|
| Cost | $50–$200 for materials | $200–$1000+ per panel |
| Performance | Variable – depends on fabric choice | Guaranteed NRC ratings |
| Customization | Full control over size, color, style | Limited, often standard sizes |
| Time | Requires sewing or heavy modifications | Ready to install |
Tip: If you’re handy, DIY can work by layering moving blankets or thick felt inside a decorative fabric shell. Just ensure the total weight is sufficient.
Maintenance and Care
To keep your acoustic curtains effective:
- Vacuum regularly with a soft brush to remove dust (dust clogs pores).
- Spot clean only – machine washing can damage the backing or shrinkage.
- Avoid steam cleaning – moisture can ruin the acoustic properties.
- Check for sagging over time and re-tension if needed.
Budget Considerations for Your Podcast Setup
Acoustic treatment doesn't have to break the bank. A few affordable options:
- Used theater curtains: Often available at low cost, heavy and acoustically effective.
- Moving blankets: Dense and cheap, but ugly – cover them with decorative fabric.
- Ikea curtains hack: Layer a few heavy velvet panels together to maximize absorption.
- Financing: Some professional brands offer payment plans for commercial setups.
Conclusion
Acoustic curtains are a versatile, stylish, and highly effective solution for any podcast room. By understanding the materials, installation techniques, and strategic placement, you can achieve professional-grade sound without major construction. Start by assessing your room’s problem areas, choose curtains with sufficient density and NRC rating, and install them with proper gaps and overlaps. Your listeners will thank you when your episodes sound clear, crisp, and echo-free.