Understanding Acoustic Curtains for Glass Walls
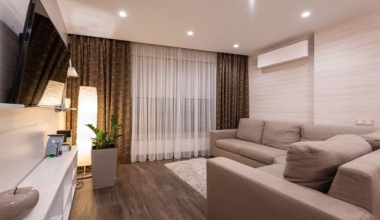
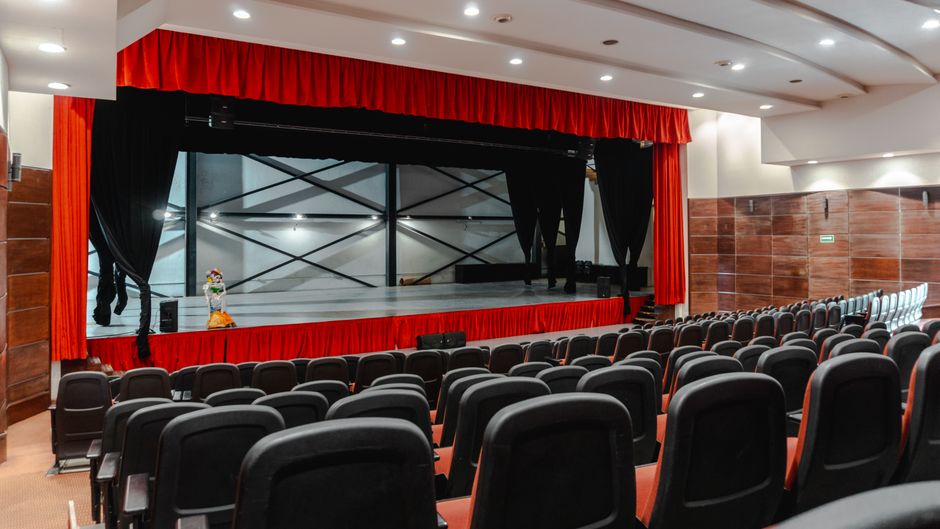
Acoustic curtains are specialized fabric panels designed to absorb sound, reduce echo, and improve room acoustics. When installed on glass walls, they offer additional benefits such as thermal insulation, light control, and privacy. The most effective acoustic curtains are made from dense, heavy fabrics like velvet or multilayered blackout materials. Sheer fabrics, while aesthetically pleasing, provide minimal sound absorption. For glass walls, it's crucial to choose curtains with a high weight per square meter (at least 300 gsm) and a lined backing to dampen vibrations.
Pre-Installation Preparation
Measuring Your Glass Wall
Accurate measurements are essential for a proper fit. Measure the width of the glass wall from end to end, including any frames. For optimal acoustic performance, the curtain should extend beyond the glass by at least 6 inches on each side to prevent sound flanking. Height should also be measured from the mounting point to the floor. Decide whether you want floor-to-ceiling installation or just covering the glass panel.
Choosing the Mounting System
Two main options exist: ceiling-mounted tracks or wall-mounted rods. Tracks provide a sleeker look and can support heavier curtains without sagging. Rods are easier to install but may not support the weight of acoustic-grade fabrics without a center support bracket. Consider the track vs rod comparison table below:
| Feature | Ceiling Track | Wall Rod |
|---|---|---|
| Weight Capacity | High (up to 20 kg per meter) | Moderate (10-15 kg) |
| Sound Sealing | Better (can mount close to ceiling) | May leave gaps |
| Installation Complexity | Higher | Lower |
| Aesthetics | Minimal, curtains appear to float | Visible rod |
For glass walls, a ceiling track is recommended to eliminate top gaps and provide a clean look. Ensure your ceiling is sturdy enough to support the weight; use a stud finder to locate joists.
Tools and Materials Needed
- Measuring tape
- Level
- Drill with appropriate bits
- Screws and wall anchors (for drywall ceilings)
- Ceiling track or rod + brackets
- Acoustic curtains with carrier hooks or rings
- Optional: corner brackets for wall-to-wall seam sealing

Step-by-Step Installation Guide
Installing a Ceiling Track System
- Mark Bracket Positions: Using the track as a guide, mark screw holes on the ceiling at intervals recommended by the manufacturer (typically 60 cm apart). Ensure the track extends at least 15 cm beyond each side of the glass.
- Install Brackets: Drill holes and insert anchors if needed. Screw brackets into the ceiling. Use a level to ensure they are aligned.
- Attach the Track: Snap or slide the track onto the brackets. Follow the product instructions for securing it.
- Prepare the Curtain: Install the curtain carriers (gliders) into the track. Some tracks have a cord system; others are hand-drawn.
- Hang the Curtain: Attach the curtain fabric to the carriers using provided hooks or Velcro strips. Start from one end and work your way across.
- Test Operation: Slide the curtain back and forth to ensure smooth movement. Adjust if necessary.
Installing a Curtain Rod System
- Select Mounts: Choose brackets that can hold a heavy rod. For glass walls, use brackets that extend outward to clear the glass.
- Mark and Drill: Place brackets at least 15 cm above the glass frame. Use a level to mark holes. Drill and install anchors if needed.
- Mount Rod Brackets: Secure brackets to the wall or ceiling. For rods longer than 2.4 m, add a center bracket to prevent bowing.
- Add Rings: Slide rings onto the rod before installing on brackets. Use clip rings for easy curtain attachment.
- Hang Curtain: Attach curtain to rings. Ensure even distribution of fabric.
- Final Adjustments: Check that the curtain clears the glass and touches the floor or sill for sound sealing.
Tips for Maximum Acoustical Performance
- Go Floor-to-Ceiling and Wall-to-Wall: Extend curtains a few inches beyond the glass to eliminate sound leakage.
- Seal Gaps: Use magnetic strips or hook-and-loop fasteners along the sides and bottom to create a tight seal against the frame.
- Layer Curtains: Install a second layer of heavier fabric (e.g., velvet over blackout) for double the sound absorption.
- Add a Cornice or Valance: A box-like valance at the top blocks sound from escaping over the curtain.
- Ensure Floors Are Carpeted: Hard floors reflect sound; adding a rug can improve overall acoustics.
Common Mistakes to Avoid
- Skimping on Width: Curtains should be 2-3 times the width of the glass for proper pleating and coverage.
- Using Lightweight Fabrics: Acoustic curtains must be dense; standard sheers won't dampen sound.
- Ignoring Stack Back: Ensure there's enough clearance for the curtain to fully open without blocking natural light.
- Poor Sealing: Even a small gap reduces acoustic performance exponentially.
- Mounting Too Low: Install as close to the ceiling as possible to prevent gaps.
Maintenance and Care
To preserve acoustic properties, vacuum curtains regularly with a soft brush attachment. Spot clean stains with mild detergent and water. Most acoustic curtains require dry cleaning; check the label. Avoid steam ironing, which can damage sound-absorbing linings. Re-tension or re-hang after cleaning to maintain drape.
Installing acoustic curtains on glass walls is a worthwhile investment for homes or offices seeking noise control. With proper preparation and installation, you can achieve a quieter, more comfortable environment.