Tools and Materials Needed
Before you begin installing blackout curtains, gather the following tools and materials. Having everything ready will make the process smooth and efficient.
- Blackout curtain panels (purchased or custom-made)
- Curtain rod (preferably a tension rod or a decorative rod with brackets)
- Curtain rings or clips (if your rod doesn't have them built-in)
- Measuring tape
- Level
- Pencil for marking
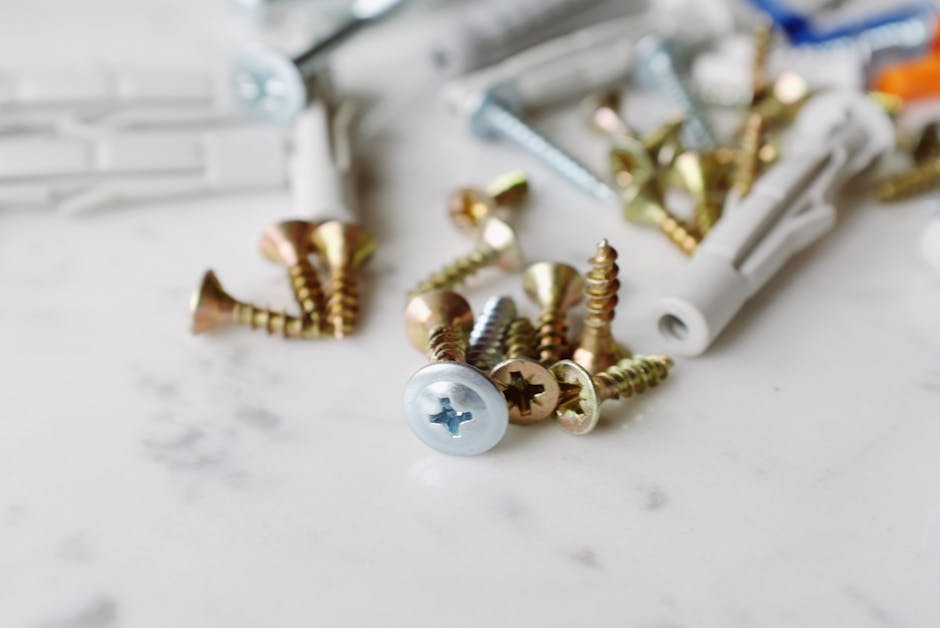
- Drill with appropriate drill bits (for drilling into wall, ceiling, or window frame)
- Screwdriver
- Wall anchors (if mounting into drywall without studs)
- Stud finder (optional but recommended for heavy curtains)
- Step ladder or stool
If you are using a tension rod (ideal for rental properties or no-drill setups), you may not need a drill. However, for maximum light blockage, a proper curtain rod with brackets is usually better.
___PROTECTED_1___
Measuring and Preparing Your Window
Accurate measurements are crucial for a professional-looking installation. Follow these steps to measure your window for blackout curtains.
Determine the Curtain Width
To maximize light blockage, the curtain should extend beyond the window frame on both sides. For an inside mount (curtain sits inside the window recess), measure the width of the recess and subtract ½ inch to allow clearance. For an outside mount (curtain covers the entire window and frame), measure the width of the window frame plus add 4–6 inches on each side. This extra fabric prevents light from seeping around the edges.
Determine the Curtain Length
Blackout curtains look best when they reach the floor. Measure from the top of the curtain rod placement to the floor. For a floating look (curtains hover just above floor), subtract ½ inch. For a puddle effect (fabric pools on floor), add 2–4 inches. If you are mounting above the window, measure from the desired rod height to the floor.
Choose the Curtain Rod Height
A general rule: mount the rod 4–6 inches above the window frame to create the illusion of taller ceilings. For blackout curtains, this also helps seal off the top gap where light can sneak in.
| Mount Type | Width Overhang per Side | Height Above Frame |
|---|---|---|
| Inside Mount | 0 inches (fits within recess) | N/A |
| Outside Mount | 4–6 inches | 4–6 inches |
___PROTECTED_2___
Choosing the Right Mounting Method
Your mounting method depends on your window type, curtain style, and whether you are allowed to drill. Here are the three most common methods.
Inside Mount (Recess Mount)
This method places the curtain rod inside the window frame. It works best if your window has a deep recess (at least 3 inches). The curtains sit flush within the frame, creating a clean, built-in look. Blackout effectiveness is good, but light may still seep through the top and sides if the curtains don't fill the entire recess.
Outside Mount (Wall or Ceiling Mount)
This is the most effective for blackout curtains. The rod is mounted on the wall above and beyond the window frame, so the fabric covers the entire window opening plus extra space. This eliminates almost all light leakage. You can mount the rod on the wall (standard) or on the ceiling (for floor-to-ceiling curtains).
Tension Rod (No-Drill)
Ideal for renters or temporary setups. A tension rod is inserted into the window frame and held by spring pressure. It works for lightweight blackout curtains but may not hold heavy velvet or multiple layers. Light leakage can occur because the rod sits inside the frame.
Step-by-Step Installation
Step 1: Mark the Bracket Positions
Place the curtain rod brackets on the wall or window frame according to your measurements. Use a level to ensure they are even. Mark the screw holes with a pencil. For outside mount, make sure the brackets are at least 4 inches above the window frame and equidistant from the sides.
Step 2: Drill Pilot Holes
If you are drilling into wood or drywall, use a drill bit slightly smaller than your screws. For drywall without a stud, insert wall anchors after drilling. For metal or concrete, use appropriate masonry bits. If you are using a tension rod, skip this step.
Step 3: Attach the Brackets
Screw the brackets into place. Use a screwdriver or drill driver to tighten them securely. Double-check that the brackets are level and aligned.
Step 4: Install the Curtain Rod
Slide the curtain panels onto the rod using rings or the rod's built-in sleeves. If using rings with clips, attach them to the curtain header. Place the rod onto the brackets and secure it according to the manufacturer's instructions (some rods have end caps or set screws).
Step 5: Adjust and Test
Spread the curtains to cover the window. Check for gaps at the top, sides, and bottom. Adjust the rod or curtain position as needed. For maximum light blockage, ensure the fabric overlaps the edges of the window frame by 2–3 inches on all sides.
Tips for Maximizing Light Blockage
- Use a wrap-around rod: This rod has a curved return at the ends that hugs the wall, preventing light from sneaking around the corners.
- Choose layered curtains: Pair blackout curtains with sheer or thermal liners for extra insulation and light control.
- Add a valance: A fabric valance atop the curtains covers the rod and blocks light from the top gap.
- Seal edges with magnetic strips: Attach magnetic tape to the curtain edges and window frame for a near-complete seal.
- Install a curtain track system: Ceiling-mounted tracks with channeled edges offer the best light blockage because the fabric is enclosed in the track.
Common Mistakes to Avoid
- Choosing the wrong rod size: The rod must be sturdy enough to hold heavy blackout fabrics. A flimsy rod will sag.
- Mounting too close to the window: This creates gaps where light penetrates. Always extend the rod beyond the frame.
- Skipping the level: An unlevel rod causes curtains to hang crookedly and leaves gaps.
- Using too few brackets: For spans over 6 feet, use a middle bracket to prevent bowing.
- Forgetting about the bottom: If curtains float above the floor, light enters from below. Use floor-touching panels.
Frequently Asked Questions
Can I install blackout curtains without drilling holes?
Yes, tension rods or adhesive-mounted rods work for lightweight curtains. However, heavy blackout fabrics often require screwed brackets for security.
How do I clean blackout curtains after installation?
Most blackout curtains can be vacuumed with a brush attachment or spot-cleaned. Check the care label. Some are machine washable on a gentle cycle, but avoid high heat drying.
Do blackout curtains really block 100% of light?
True blackout curtains (with a triple-weave or coated backing) block 99% of light when installed correctly. For complete darkness, use a total blackout lining or combine with blinds.
Conclusion
Installing blackout curtains is a straightforward DIY project that can dramatically improve your sleep quality, energy efficiency, and privacy. By choosing the right mounting method, measuring carefully, and following these step-by-step instructions, you will achieve a professional finish. Remember to account for extra fabric overhang and consider investing in a wrap-around rod for the best light seal. Now you can enjoy a dark, quiet room no matter the time of day.