Why Layer Sheer and Blackout Curtains?
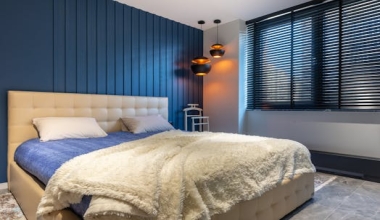
Layering sheer and blackout curtains is a smart design strategy that offers the best of both worlds: the soft, diffused light of sheers and the total darkness of blackout fabrics. This combination gives you ultimate control over privacy, light levels, and energy efficiency. Whether you're designing a cozy bedroom, a home theater, or a stylish living room, layering these two types of curtains can elevate both function and aesthetics.

Choosing the Right Fabrics
Sheer Curtains
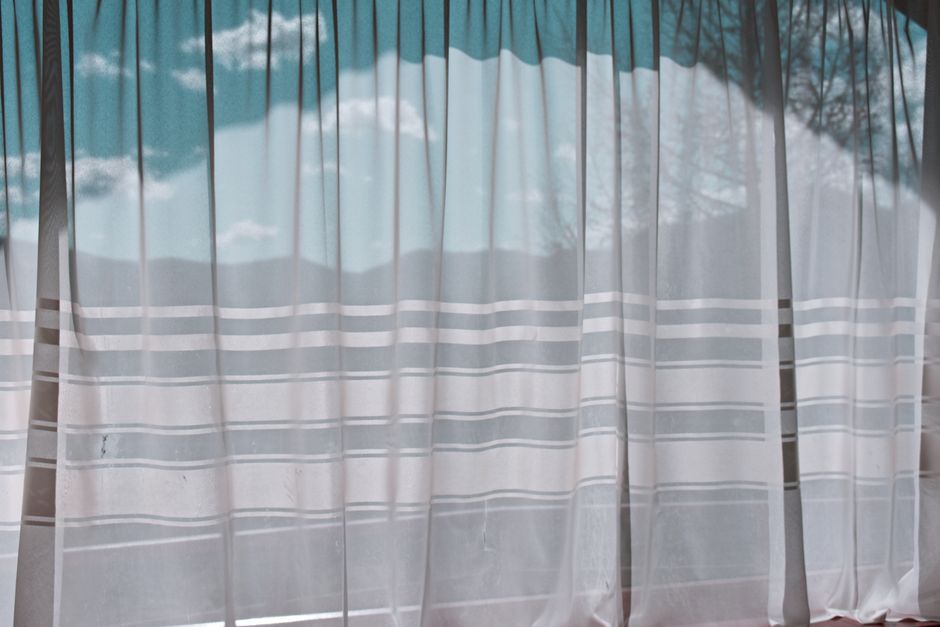
Sheer curtains are lightweight, translucent fabrics that filter sunlight while maintaining privacy. Common materials include polyester, linen blends, and voile. For layering, choose sheers with a neutral color like white, ivory, or soft grey to complement any decor.
Blackout Curtains
Blackout curtains are made from tightly woven or coated fabrics that block 99% of light. They are essential for bedrooms, nurseries, and media rooms. Look for opaque fabrics with thermal backing for added insulation.
Combining Textures
Mix textures to create visual interest – pair smooth, silky sheers with velvet blackout curtains for a luxurious feel. Avoid busy patterns that clash; solid colors work best for a cohesive look.

Step-by-Step Layering Setup
- Measure your window – Determine the width and height. For sheers, add extra inches for gather. Blackout curtains should be slightly wider to cover edges.
- Select a rod system – Use a double rod (two rods on one bracket) or a single rod with curtain rings for the sheer and a separate rod for blackout. Double rods are easiest to install.
- Install the rods – Place the inner rod (closer to window) for sheers, outer rod for blackout. Mount brackets high and wide to make windows appear larger.
- Hang sheers first – Slide sheer panels onto the inner rod. They should pool slightly on the floor for an elegant look.
- Hang blackout curtains – On the outer rod, hang blackout panels. Ensure they overlap the sheers and extend beyond the window frame to block light.
- Adjust and drape – Arrange both layers neatly. Blackout curtains should be drawn at night, sheers during the day for privacy with light.
Mounting Options: Double Rod vs. Single Rod with Rings
| Feature | Double Rod | Single Rod with Rings |
|---|---|---|
| Ease of setup | Easy – both rods pre-installed | Requires special rings or clips |
| Layering flexibility | Separate hang and slide | Sheer and blackout share rod |
| Cost | Higher – two rods and hardware | Lower – one rod, rings added |
| Light leakage | Minimal with correct overlap | Possible gaps if not arranged |
| Best for | Any window size, optimal layering | Small windows, budget-friendly |
For most rooms, a double rod is recommended for superior function and alignment.
Practical Tips for Perfect Layering
- Length matters – Sheers can be floor-length or puddle; blackout should hover just above floor to avoid dragging.
- Stack back – Ensure both layers stack back neatly when open – sheers should clear the glass, blackout should uncover the window fully.
- Avoid bright colors – Dark blackouts with white sheers create a classic contrast. Bright sheers may show through blackout when lit.
- Use tiebacks – For daytime, gather blackout curtains with tiebacks to showcase sheers and let in light.
- Consider motorization – Layered curtains can be motorized for easy daily operation.
Common Mistakes to Avoid
- Wrong rod placement – Installing rods too close to window causes light seepage. Mount at least 4–6 inches above the frame.
- Sheers too wide – Excess fabric can bunch and look messy. Keep sheers at 1.5–2x window width.
- Blackout panels too short – Gaps at top or bottom allow light. Measure precisely.
- Ignoring fabric weight – Heavy blackouts on a flimsy rod may sag. Use sturdy rods rated for weight.
- Forgetting hardware visibility – Elegant finials and brackets enhance the look; avoid cheap plastic parts.
Conclusion
Layering sheer and blackout curtains is a simple yet powerful way to transform any room. By choosing the right fabrics, installing double rods, and following practical tips, you can achieve a professional finish that balances beauty and utility. Experiment with textures and colors to match your decor, and enjoy the perfect blend of light control and privacy every day.