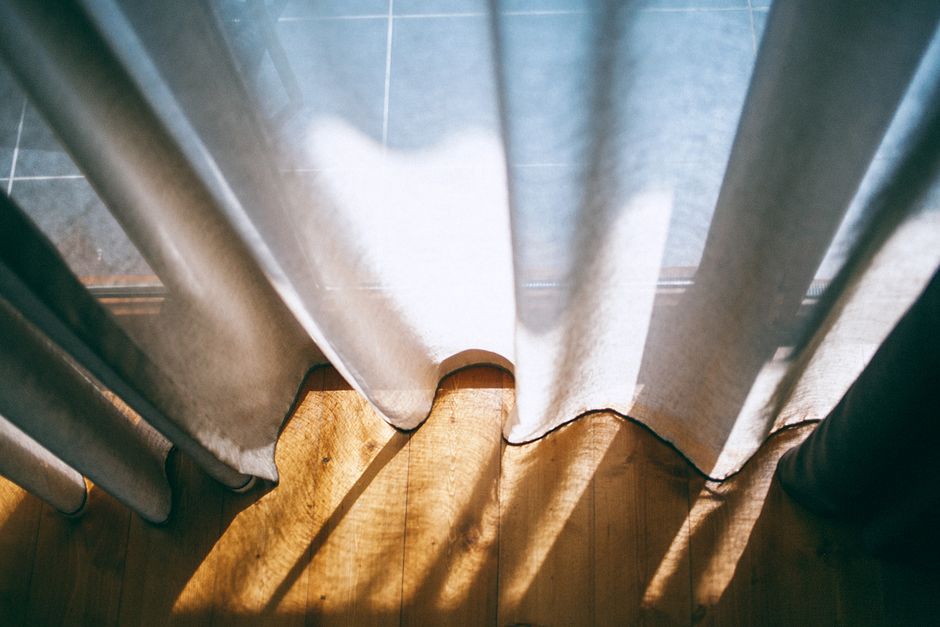
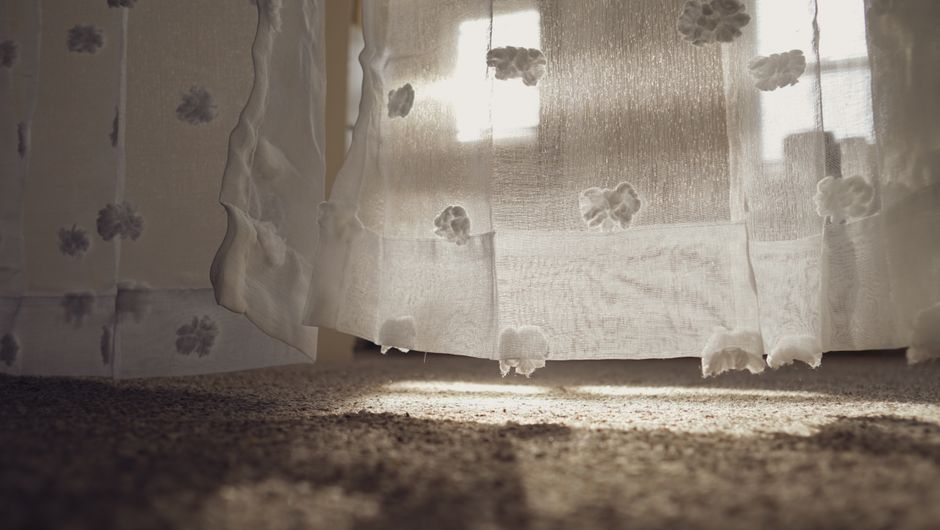
Why Sheer Curtains Tear and Why Repair Matters
Sheer curtains add elegance and softness to any room, but their delicate fabric is prone to tears from daily use, pets, or accidental snags. A small tear can quickly worsen, making the curtain look shabby. Repairing it promptly not only saves you money but also extends the life of your curtains. This guide covers several DIY methods to fix tears in sheer curtains, from invisible mending to simple patches. With the right tools and a bit of patience, you can restore your curtains to their former beauty.
Assessing the Damage
Before starting, examine the tear carefully. Is it a clean cut, a ragged pull, or a hole? Measure its length and check if it’s near the hem or edge. Small tears (under 2 inches) are easier to fix invisibly, while larger tears may require a patch or creative repositioning. Also note the fabric type: polyester, nylon, or cotton blend. Most sheer curtains are synthetic, which means they can be fused with heat or adhesive.
Gathering Your Supplies
Depending on the repair method you choose, you may need some or all of these items. Here’s a basic list:
| Supply | Use |
|---|---|
| Needle and thread (matching color) | For invisible stitching |
| Fabric glue or fusible web tape | For no-sew repairs |
| Small scissors | To trim loose threads |
| Pins or clips | To hold fabric in place |
| Iron and pressing cloth | For fusible tape application |
| Scrap of similar sheer fabric | For patching larger holes |
| Seam ripper | To undo any existing hems if needed |
Step-by-Step Repair Methods
Method 1: Invisible Stitching (Best for Clean Tears)
This technique works like magic for straight tears. Here’s how:
- Thread your needle with a single strand of thread that matches the curtain color. Tie a small knot at the end.
- Secure the edges: Bring both sides of the tear together, overlapping slightly. Pin in place.
- Start stitching: Insert the needle from the back (wrong side) about 1/8 inch from the edge. Take tiny stitches alternately from each side, catching only a few threads each time. Keep the stitches very close together.
- Finish: After the tear is closed, knot the thread on the back side and trim excess. Gently pull the fabric to distribute the tension.
Tip: If the curtain is very sheer, use a fine needle (#9 or #10) to avoid visible holes.
Method 2: Fabric Glue (Quick No-Sew Fix)
For synthetic sheers, fabric glue creates a strong bond without stitching.
- Clean the area: Remove any loose threads. Place a piece of wax paper under the tear to prevent glue from seeping through.
- Apply glue: Using a toothpick, apply a thin layer of fabric glue along the edges of the tear. Press the edges together firmly.
- Weight it down: Place a heavy book on top and let dry for at least 4 hours. Avoid washing for 24 hours.
Note: Test glue on a hidden area first to ensure it doesn’t bleed through.
Method 3: Fusible Web Tape (Heat Bonding)
This is ideal for polyester or nylon sheers that can withstand low heat.
- Cut a piece of fusible web tape slightly smaller than the tear.
- Insert between layers: Place the tape between the two edges of the tear. Overlap the fabric slightly.
- Iron: Cover with a pressing cloth and iron on low heat (synthetic setting) for 10-15 seconds. Let cool completely.
Caution: Never use high heat as it can melt sheer fabrics.
Method 4: Patching (For Large Holes)
When the tear is too large to simply pull together, a patch from matching fabric works best.
- Cut a patch from a spare piece of similar sheer fabric, at least 1 inch larger than the hole on all sides.
- Position: Place the patch behind the tear (on the wrong side). Pin in place.
- Attach: Use either invisible stitching, fabric glue, or fusible tape along the edges of the patch. Ensure the patch is flush with the curtain fabric.
- Trim: Once secure, carefully trim away any excess fabric from the front if the patch shows through.
Method 5: Re-positioning the Hem
If a tear is near the bottom hem, you can simply cut off the damaged section and re-hem the curtain. This is a quick way to refresh the length while removing the tear.
- Cut straight across the curtain about 1-2 inches below the tear. Use sharp scissors.
- Fold the new hem by 1/2 inch, then another 1/2 inch. Pin.
- Sew or fuse: Machine sew a straight stitch, or use hem tape and iron to create a new hem.
Tips for Preventing Future Tears
- Use curtain rings instead of metal clips that can snag delicate fabric.
- Keep pets away by using deterrent sprays or closing curtains when pets are active.
- Wash gently: Always use a mesh laundry bag and delicate cycle, or hand wash.
- Avoid direct sun (UV rays weaken fibers). Use a liner or rotate curtains periodically.
- Trim loose threads immediately to prevent them from pulling and creating runs.
When to Replace Instead of Repair
While repairs are cost-effective, some situations warrant replacement:
- The curtain is heavily faded or worn, so repair will not restore its appearance.
- Multiple tears exist, especially if they are large or in different areas.
- The fabric has become brittle and tears easily under light stress.
- You cannot find matching thread or fabric for an invisible repair.
In those cases, invest in new sheers from a reputable brand. Often, the cost of repair outweighs the benefit for heavily damaged curtains.
Conclusion
Repairing a tear in sheer curtains is a simple DIY task that can prolong their life and keep your home looking polished. Whether you choose invisible stitching for a discreet fix or a patch for larger holes, the key is to work carefully with matching materials. Remember to assess the damage first and select the method that best suits your curtain type. With these techniques, you can save money and reduce waste. Happy repairing!